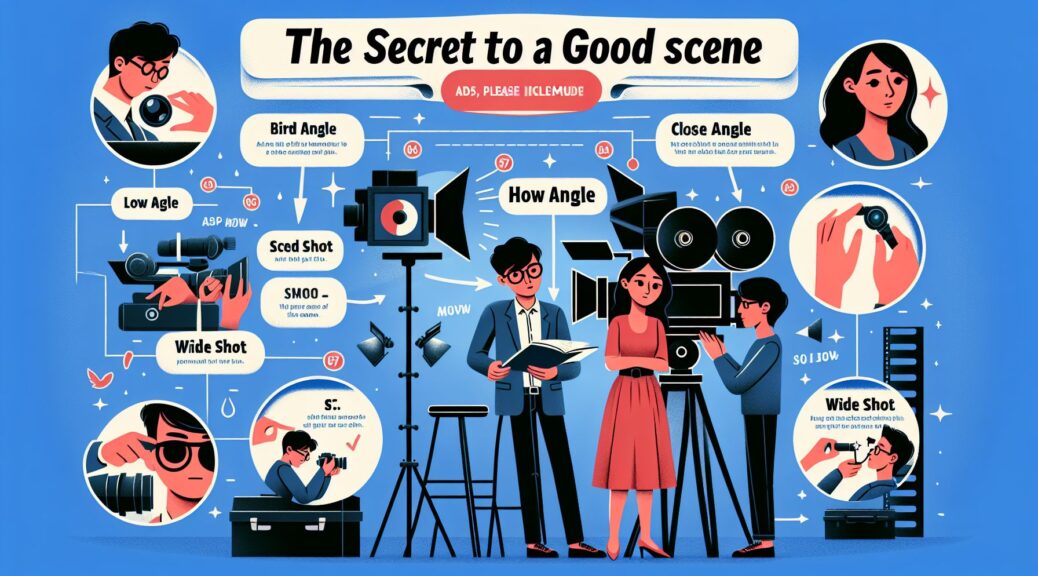
The Secret to a Good Scene: How Many Camera Angles Do You Need?

As a business owner venturing into the world of videos, understanding the value of using different camera angles to make your scenes intriguing and engaging cannot be overemphasized. In this blog post, we’ll dive into the significance of using various camera angles and how many you would need to create a good scene.

Why Multiple Camera Angles Matter

Simply put, using multiple camera angles helps to add dynamism and provide a seamless flow of perspective to your videos. When filming, one static camera shot can quickly become boring and monotonous, so incorporating different angles keeps your video engaging, visually appealing, and conveys your message effectively to your viewers.

Different camera angles allow viewers to see the context, reactions, and spaces in your video. This broadens their understanding of the situation, aiding them in fully grasping the information or story you’re trying to convey.

How Many Camera Angles Make a Good Scene?

Although simple scenes can be reasonably handled with a single angle, more complex ones benefit from a variety of perspectives. However, there’s no one-size-fits-all answer as the number of required camera angles varies depending on your video’s intended purpose and the desired emotional experience you wish to create for your audience.

The One Camera Angle Approach

Despite the potential lack of dynamism, a single angle can be sufficient for simple scenes, especially when your goal is to deliver a direct, clear, and concise message. A simple webinar, for instance, can effectively be filmed using a single straight angle where the speaker directly addresses the camera.

The Two to Three Camera Angles Approach

In general, two to three different angles are often adequate for a more dynamic scene without complicating the editing process. This is often the case for interview-style videos or product demonstration videos, where you might have a wide shot, a medium shot for context, and close-ups to capture details or reactions.

More than Three Camera Angles

For more intricate scenes or when you need to showcase multiple perspectives, you might require more than three angles. An example of this is a panel discussion where each speaker needs to be highlighted, and the overall group dynamic needs to be captured.

Striking a Balance: Quality and Quantity

While having an array of angles to choose from during the editing phase may seem like a good idea, it’s important to remember that shooting from multiple angles demands more equipment, planning, and time for both filming and editing. It also introduces a higher level of complexity to the shooting process. So, while more angles provide greater coverage, ensure that each angle improves the narrative or aesthetic quality of your video.

The key here is balance – choose your camera angles wisely to get the best quality without unnecessary complexity.

Conclusion

In the realm of video production for your business, understanding the impact of camera angles can significantly improve the level of engagement and comprehension of your audience, making your scene good or even outstanding. However, remember that it’s less about the exact number of camera angles used and more about how they are implemented to support your video’s purpose and your audience’s experience. Also, bear in mind that while using multiple angles adds depth and visual interest, maintaining a balance between quantity and quality of the camera angles is crucial.

Remember, as with any skill, effective camera work comes with practice and a keen understanding of your business’s goals and target audience. So keep experimenting with different camera angles, and you’ll soon find the winning formula that works best for your business videos.

#Streamlining Video Streaming: A Guide for Small Business Owners

The digital age grants businesses an arsenal of nifty tools. Among them is video streaming. Be it for virtual product launches, webinars, or training sessions, video streaming can connect you to your clients and staff on an intimate and engaging level. Whether you’re broadcasting an event in real-time or crafting a pre-recorded instructional video, a well-organized video stream can work wonders for your small business. Here’s a step-by-step guide on how to stream video effectively for small business owners.

Understand Your Broadcasting Goals

Before delving into video streaming’s technical aspects, it’s essential to understand your goals. What do you aim to achieve with this broadcast? These goals can range from boosting product visibility, fostering customer engagement, to offering value-added experiences, such as ‘how-to’ videos for products. Defining your goals helps customize your broadcast strategy, content, and execution to align with your business objectives.

Learning the Basics of Broadcasting

Not all broadcasts are the same. While some may be live streams, others might be on-demand videos. With live streaming, the focus is on real-time viewing where audiences can interact instantly. On-demand videos, on the other hand, are pre-recorded and allow viewers to watch at their convenience.

Depending on your goals, you may opt for either. A product launch, for instance, might benefit from the urgency of live streaming. Conversely, a how-to guide for a product could be more suited to on-demand videos, allowing customers to follow the guide at their convenience.

Selecting a Streaming Platform

Your choice of streaming platform can depend on factors like your target audience, intended broadcast quality, and budget. Several free and premium platforms provide a blend of features suitable for small businesses—Facebook Live, Instagram Live, Zoom, and YouTube Live, to name a few.

Again, your choice of platform should align with your business goals. If your target demographic frequently uses Facebook, leveraging Facebook Live might yield the best engagement levels.

Crafting Quality Content

Without engaging content, your broadcast could fall flat. Ensure your script is well structured, clear, and caters to your target audience’s preferences. The content should be beneficial and engaging, encouraging viewers to participate and share your broadcast. Don’t forget to include a clear call to action—one that aligns with your broadcasting goals.

Paying Attention to Sound Design

Quality audio can’t be overlooked in a video stream. Bad audio can lead to viewer drop-offs, defeating your streaming efforts. Whether you’re investing in professional sound equipment or using your device’s built-in microphones, ensure the audio is clear, audible, and free from background noise. Understanding the basics of sound design can significantly uplift your video streaming efforts.

Testing Before Broadcasting

Before going live or uploading your pre-recorded video, always test the broadcast on your chosen platform. This includes checking the video, audio, lighting, connection, and any applications required for the stream. Testing ensures your audience experiences the broadcast as intended, without any unforeseen technical glitches.

The Power of Post-Broadcast Analysis

After wrapping up your broadcast, it’s time to study its performance. This encompasses reviewing viewer engagement levels, the number of viewers, comments, shares, and various other metrics depending on the platform used. Such information can offer valuable insights to guide future broadcasts and enhance your video streaming strategy.

Video streaming can feel daunting at first, but with a bit of planning and practice, it can become a powerful tool for your small business. From understanding your goals to selecting platforms, creating engaging content, enhancing sound design, and valuing post-broadcast analysis, each step contributes to your broadcast’s overall success. So, embrace the digital age and start streaming—it’s time your small business reaps the rewards of video streaming.

Amplify Your Blogging Game: A Comprehensive Guide to Video Production for Bloggers

Introduction

Blogging has evolved from merely writing progressively to engaging visuals and enticing audio. As bloggers, keeping pace with the changing patterns and technical advancements is essential. In this context, incorporating video content has become a pivotal game-changer. With a surge of 86% of businesses using video content in their marketing arsenal and 93% of marketers claiming it as critical for their arsenal, it’s time to hop on the video marketing bandwagon. This guide aims to simplify the process, offering pointers to produce quality video content for your blog.

Identifying the Purpose of Your Video

Before diving into the technicalities of video production, it is crucial to comprehend the concept and purpose of your video. Do you wish to educate, entertain or inspire your readers? The purpose forms a bridge between your content and audience expectations. By matching your video content with your blog’s thematic areas, you can ensure they complement each other, creating a powerful and consistent brand message.

Crafting Engaging Storylines

Good video content hinges on compelling narratives. Your video elements should not meander aimlessly but purposefully engage with your audience. By conceptualising your storyline in advance, you can ensure a smooth and logical transition between frames. Keep your messaging clear and ensure it resonates with your audience’s interests.

Prioritising Video Quality

High-quality video production can be an icing on the cake for your blog engagement. However, having a high-resolution camera isn’t sufficient. Make it a habit to use a tripod or a steady cam for wobble-free shots. Bear in mind that your lighting plays a vital role in the outcome; hence, skilled positioning of natural or artificial lights to illuminate the subject effectively can enhance the overall video quality.

All About Audio

While video quality might grab immediate attention, underlying audio significantly adds to the overall impact. Poor audio can leave your audience disengaged and your videos underappreciated. Opt for a decent microphone, steer clear of background noise, and consider using audio editing software to clean up your sound. Remember, your audio helps you connect with your audience, so utmost care should be taken while recording.

Embrace Effective Editing

Bringing your raw video to life demands quality editing. Start with basic trimming and move further to adding effects and transitions. Choose an easy-to-use, feature-rich editing software that most suits your requirements. While the inclusion of effects can give a professional touch to your videos, overdoing it can make your content seem tacky and complicated.

Harness the Power of Thumbnails and Captions

Compelling thumbnails and accurate captions can up your video game. Thumbnails act as the first impression and draw the audience to play your video. Similarly, captions ensure your video is accessible to everyone, including the hearing impaired or those who might be watching in a sound-sensitive environment.

Conclusion

Incorporating videos into your blog amplifies your content reach and interacts with your audience in a captivating way. As you take the plunge into video production for your blog, remember the key is to strike a balance between video and audio, finesse with simplicity, and technicality with creativity.

Practice and patience are your best friends while mastering the craft. Each time you produce a video, you get one step closer to providing your readers with the rich, multi-media content they crave. So, embrace the challenges that come your way; you’re not just a blogger, now you’re a video producer.

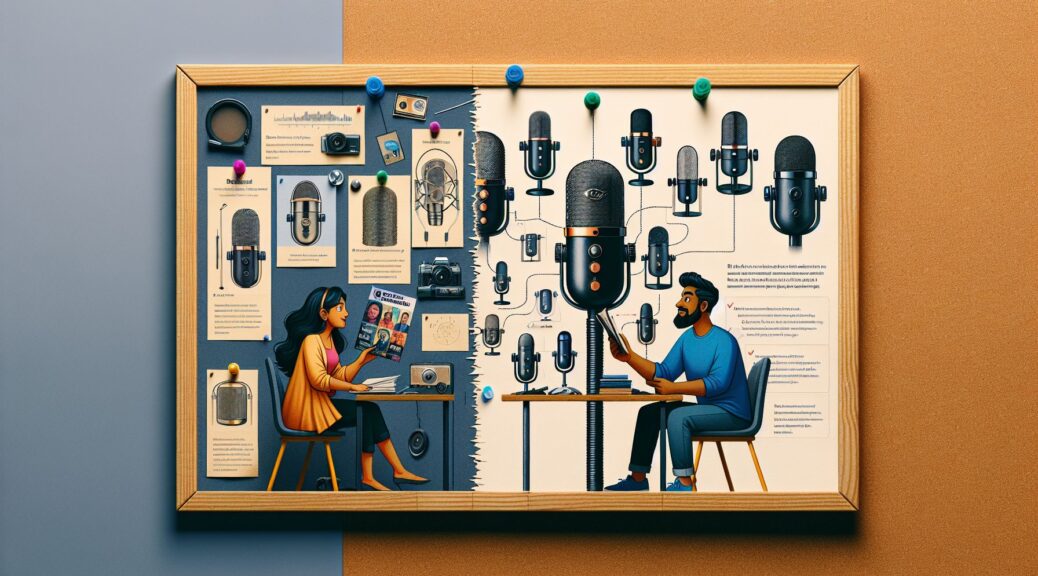
Discovering the Best Microphones for Podcasting: A Guide for Creators

When embarking on your podcasting journey, one of your first steps will be finding the perfect microphone to capture your voice; ensuring it sounds professional and clear. The number of microphones available on the market can be overwhelming, and the seemingly endless technical specifications can seem daunting. Yet, having the right microphone is crucial to the successful production process and broadcasting of your podcast. In this blog post, we will help you navigate this terrain by reviewing the best microphones available for podcasting.

Understanding Microphone Types

Before delving into the specifics, it’s important to familiarize yourself with the two main types of microphones you will be considering:

Dynamic microphones are the workhorses of the audio world. Durable and resilient to rough handling, they are generally best for live performances, broadcasting environments and recording loud sound sources.

Condenser microphones, on the other hand, are more sensitive and accurate. They are best for studio recordings where ambient noise can be controlled. Although less robust than dynamic mics, the sound quality produced is usually superior.

Top Microphone Picks for Podcasting

Audio-Technica ATR2100x-USB

This dynamic microphone offers both XLR and USB outputs. The ATR2100x-USB is a favorite among podcasters due to its durability, affordability and how it handles vocal sounds. It’s perfect for beginners who prefer plug-and-play simplicity.

Heil PR-40

A choice for many professional podcasters, this dynamic microphone offers excellent sound quality and minimizes background noise, boasting an impressive range of frequency response. Its smooth, flat output across the entire vocal range ensures a rich, deep and professional sound.

Shure SM7B

Famously used by top names in podcasting and radio broadcasting, the Shure SM7B is a dynamic microphone offering wide-range frequency response and excellent shielding from electromagnetic hum. Combined with its impressive bass roll-off and mid-range emphasis control, this microphone is perfect for podcasters who desire professional-level audio quality.

Rode NT1

A condenser microphone with a reputation for being one of the quietest microphones in the world, the Rode NT1 provides pristine audio quality with its high level of sensitivity. If you are podcasting in a quiet, well-controlled environment, this microphone may be your ultimate choice.

Blue Yeti

A versatile and user-friendly USB condenser microphone, the Blue Yeti is a favorite among beginner podcasters. Offering multiple pattern selection, you can choose between unidirectional and omnidirectional settings. It’s an affordable choice for creators who need an all-in-one microphone solution.

Aim for the Best Fit

Remember, while audio quality is important, the best microphone will depend on your personal needs, the nature of your podcast, your recording environment, and your budget. Investing in a high-quality microphone can certainly enhance the broadcasting and production process of your podcast, but affordability doesn’t have to mean a compromise on sound quality.

Whether you opt for a basic USB microphone or a high-end XLR microphone, ensure you’ve considered your workings space’s acoustics, the co-host proximity if you have any, and most importantly the type of sound you aim to produce.

Conclusion

Choosing a microphone for podcasting can seem like a challenging task, especially if you are new to the world of audio equipment. However, spending time to understand and explore your options can make a significant difference in the sound quality of your podcast. From the affordable and user-friendly Audio-Technica ATR2100x-USB to the professionally revered Shure SM7B, there’s a microphone to suit every podcaster’s needs and budget. You do not need to be an expert in the production process or broadcasting – you just need to find the microphone that best fits your requirements and sound preferences. Now it’s time to let your voice be heard!

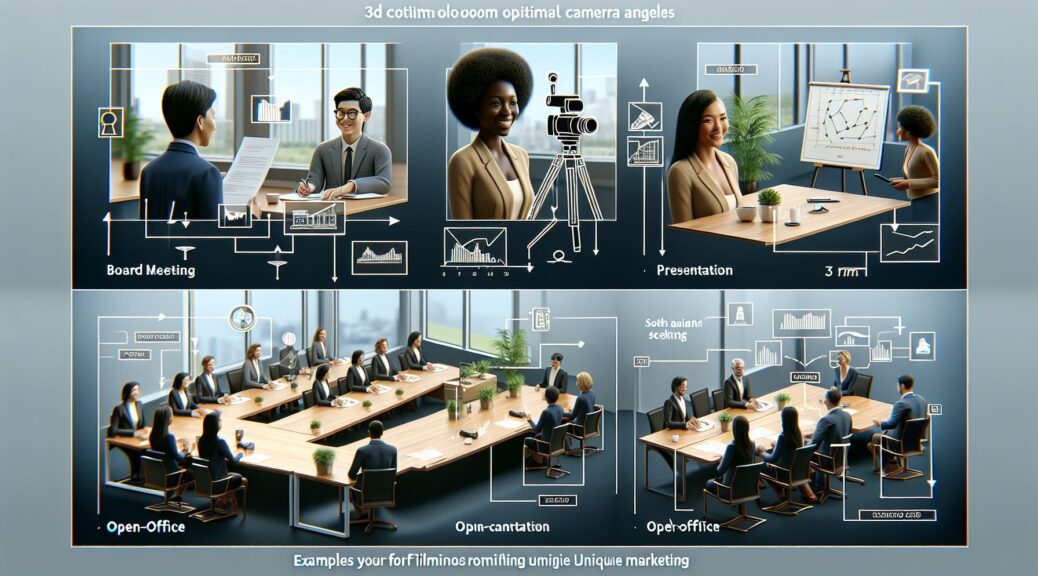
Optimum Camera Angles for Corporate Scenes: Enhancing Video Marketing Success

The essence of video marketing in the corporate world cannot be highlighted enough in this 21st century. With the rise of digital platforms and the allure of audio-visual content, corporations globally are leveraging the power of video to portray their brand story, showcase their products or services, engage with their audience, and ultimately, expand their customer base. However, alongside video quality and content, camera angles are a critical element that determine the effectiveness of a corporate video. This article seeks to explore how many and which types of camera angles constitute a good scene, and how you can take advantage of these to optimize the success of your video marketing campaigns.

The Power of Perspective: The Role of Camera Angles

Camera angles serve as the perspective or the vantage point from which the audience views your content. They are not just technical considerations banded about by cinematography enthusiasts. They play a significant role in amplifying the impact and emotional intensity of the content, and influencing the viewer’s perception of the narrative or subject matter. Therefore, the choice and deployment of camera angles can make or break your corporate video.

The Illustrious Three to Five: The Ideal Number of Camera Angles

Although the ideal number of camera angles varies depending on the complexity of the scene and the creative vision of the director, most industry professionals agree that three to five angles tend to make a good scene. One main angle (also called the master shot), complemented by two to four additional angles, often provides adequate coverage without overwhelming the viewer or muddling the narrative. Specifically for corporate videos, this range strikes the right balance between maintaining audience interest and clarity of message.

Types of Camera Angles and their Applications in Corporate Videos

1. The Eye-level Shot

Arguably the most frequently employed camera angle, the eye-level shot is taken at the subject’s eye level. It’s known for its neutrality, and is ideal for conveying straightforward facts or information about your product or service. It promotes a conversational tone and direct engagement with the viewer.

2. The High Angle

High angle shots are captured from above the subject, “looking down”. It can be used strategically in corporate videos to suggest a perspective of vulnerability or insignificance, for instance, when showing the “before” part of a before-and-after comparison.

3. The Low Angle

Conversely, low angle shots are taken from below the subject, “looking up”. They create an illusion of dominance or significance. It can be particularly effective for highlighting the superior features of a product or emphasizing the ‘changed’ status in a transformational journey.

4. The Over-the-Shoulder Shot

The over-the-shoulder shot involves framing the subject from behind the shoulder of another person. It is popular for creating a sense of conversation, and can be leveraged in client testimonials or interview-style corporate videos.

5. The Close-Up

The close-up is an intense shot that is zoomed in on a person or detail. Use this to focus on the USPs (unique selling points) of a product, or to present an emotional testimony that resonates with the viewer.

Conclusion

In the inexhaustible world of video marketing and filmmaking, creativity rules the roost. While always remembering the golden number, three to five, do not feel restricted in your use of camera angles. Experiment and explore, but always keep in mind the story you want to tell, the emotion you want to invoke, and the reaction you want to provoke. Let every camera angle contribute to and enhance the brand narrative, improving viewer engagement, retention, and conversion rates in your video marketing endeavors.

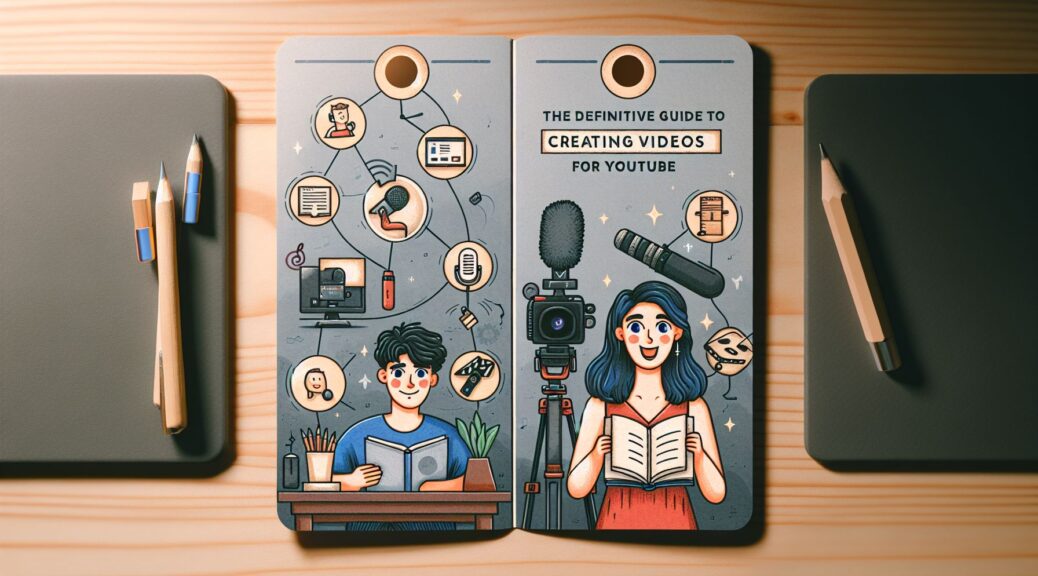
The Definitive Guide to Creating Videos for YouTube

Navigating the digital realm of content creation can be a daunting task, especially for those beginners in the field. YouTube, the world’s leading video-sharing platform, presents countless opportunities for creators. To maximize these opportunities, knowing how to create quality and engaging videos is integral. This inclusive guide aims to cover the basics – from planning, production, to post-production of YouTube videos.

1. Planning Stage: Ideation and Research

Before anything else, a firm understanding of what your video will be about is necessary. This ambitious step involves:

a. Determining your niche. Assess what interests you and what you can sustainably produce content for. Considering your target audience is also crucial. You must ask questions like: what age group are they? What are their likes and interests? What value can I offer them – Is it educational, entertaining, or inspirational?

b. Ideation and Research. Once a niche is set, brainstorming ideas for your videos comes next. It’s wise to invest time in market research – it’s looking up similar existing videos or what’s currently trending.

2. Pre-Production: Scripting and Storyboarding

The pre-production phase involves specific activities that set the groundwork for your video. This phase includes:

a. Scripting. A well-structured script is a backbone of a captivating video. It includes the dialogue, flow of the video, and descriptions of what is happening in each scene.

b. Storyboarding. A storyboard gives visual representation to your script. It’s a roadmap that guides you and your team throughout the video production.

3. Production: Shooting the Video

With your script and storyboard in hand, it’s time to turn your vision into reality.

a. Setting Up the Environment. The production value of your video significantly relies on good lighting, high-quality sound, and an appropriate backdrop or location.

b. Shooting the Video. Collect all the shots necessary, per your storyboard. Don’t restrict yourself to just one take. Shooting from a variety of angles can add visual interest.

4. Post-Production: Editing and Fine-tuning

The post-production phase involves video editing – combining your video clips, adding effects, voiceovers and music, and more. This process enhances the overall quality of your video and gears it closer to what you initially planned.

a. Video Editing. Choose an appropriate editing software that matches your skill level and budget. Trim down your footage to your desired length and arrange them according to your storyboard.

b. Audio Editing. Good audio boosts the overall experience of your viewers. Make sure the dialogue is clear and audible. Background music and sound effects also provide an additional dimension to your video.

c. Color Grading. This step brings consistency and mood to your video. It corrects the colors of your footage and can be as subtle or stylish as you want.

5. Upload and Promote

Finally, the process doesn’t end in creating videos. Uploading and marketing them to reach the right audience are crucial steps to make.

After successfully uploading your video, maximize YouTube’s features. Create a compelling title, description, tags, and thumbnail for your video. Promote your videos in your social media channels or create collaborative content with other YouTubers in your niche.

In conclusion, creating videos for YouTube involves a series of detailed and interconnected steps. It’s a creative process that demands patience, commitment, and continuous learning. Reflect on every step you take – learn from your successes and fix any shortcomings. Start with basic video equipment and as you mature, you can gradually upgrade your tools. Remember, the key lies not in high-end gear, but in the quality and value of the content that you provide your audience.

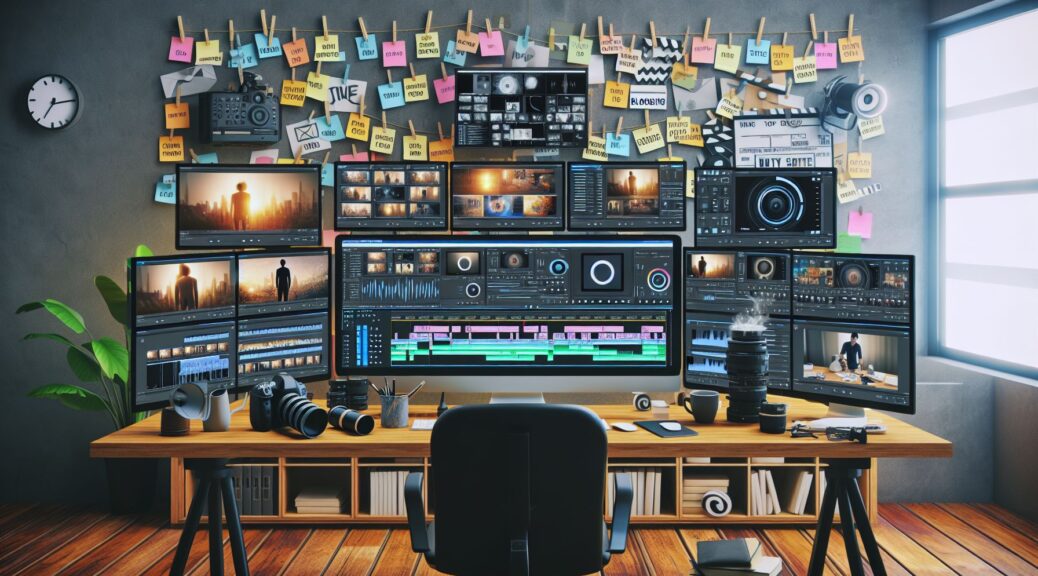
Top Video Editing Software for Bloggers: Enhance Your Content

With the ongoing growth of digital marketing and the subsequent demand for engaging content, video has established itself as the frontrunner. According to a study by Wyzowl, 86% of businesses use video as a marketing tool – a clear testament to its effectiveness in reaching audiences. More specifically, bloggers find videos to be an effective means of communication that adds value to their blogs. As such, it’s crucial for bloggers to explore different video editing software to actualize their creative vision and create high-quality content. In this post, we’ll discuss some of the best video editing software options for bloggers.

Pro-Level Video Editing: Adobe Premiere Pro

Bloggers seeking professional-level video editing software should consider Adobe Premiere Pro. This platform offers a wide range of tools, from simple color correction to advanced effects and transitions. Its comprehensive nature allows bloggers to perfect the visual and audio aspects of their videos.

Premiere Pro shines in its integration with Adobe’s Creative Cloud. Bloggers using apps like Photoshop or Illustrator can quickly import and edit their assets directly in Premiere Pro. This software also supports 4K and VR footage, catering to forward-thinking bloggers who want to stay ahead of video trends.

However, while it provides powerful capabilities, Premiere Pro also demands a substantial learning curve. But for bloggers serious about delivering top-tier video content, the investment in time and effort is worth it.

User-Friendly Option: iMovie

For bloggers who want a user-friendly, simple-to-use video editor, iMovie is a solid option. While it lacks the extensive features of Premiere Pro, it provides an intuitive interface and a range of basic editing tools that create polished output.

With iMovie, bloggers can easily stitch together video clips, add transitions, and adjust video speed. iMovie also supports 4K video for stunning cinema-quality films, which is a great advantage for bloggers with iPhone or iPad since they can shoot and edit on the same device.

Comprehensive yet Affordable: DaVinci Resolve

DaVinci Resolve is a robust and comprehensive video editing software that is surprisingly free. This software goes beyond regular trim, cut, slice feature – its free version includes colour correction and visual effects.

Moreover, DaVinci Resolve prides itself on its advanced color correction tools, allowing users to tweak and perfect the colors in their videos according to their preferences. This is a unique edge especially favored by professional video editors.

The potential drawback of DaVinci Resolve is its complexity. It might not be suitable for beginners or bloggers who want a quick editing fix. It’s more suitable for those aiming to produce high-quality videos and are willing to climb a steep learning curve as a trade-off.

Best Online Editor: WeVideo

WeVideo is a flexible, cloud-based video editor best for bloggers on the go. It allows users to proceed with their video editing tasks from any device, thanks to its cloud storage capacity.

Though not as advanced as Adobe Premiere Pro or DaVinci Resolve, WeVideo offers a wide array of features like green screen, slow motion effects, picture-in-picture, and more than 1 million licensed music tracks.

Bloggers who want a balance between advanced features and accessibility will find WeVideo to their liking. However, it’s important to note that while it does offer a free version, most serious editing features come in its paid version.

Conclusion: Choosing What Suits Your Needs Best

There’s a video editing tool for every blogger out there. Your choice boils down to understanding your editing needs, your technical proficiency, and your budget.

For experienced bloggers seeking a high-end professional product, Adobe Premiere Pro is the ideal software. Casual bloggers or beginners can look to iMovie for its simplicity and ease of use. Bloggers seeking a balance between affordability and advanced features will find DaVinci Resolve suitable. Finally, for those who want flexibility, an editor like WeVideo offers video editing capabilities from anywhere.

No matter the choice, remember – the right video editing software is the one that enables you to best tell your story.

How to Record Quality Audio with Video: A Comprehensive Guide for Videographers

From big-budget films to your everyday vlogs, audio quality often turns out to be just as crucial as video. This post will persistently dig deep into the strategies and equipment needed to record quality audio that complements your video.

Mastering the Fundamentals of Audio Recording

Before diving into the tools that help capture clear, high-quality sound, it’s vital to get up to speed about the recording process. Remember, audio quality can have a significant influence on the viewer’s experience.

Understanding On-set Noise

Videographers should be aware of the amount of noise present in the filming environment. This could be anything from the air conditioning system, external traffic to even the crew members going about their tasks. Understanding your set’s soundscape is a significant step towards recording quality audio.

Mic Selection and Placement

Choosing the right microphone is fundamental to recording quality sound. Personal project or professional work, the type of microphone you decide upon significantly impacts the audio capture. Further, placing the mic in the proper position also strongly impacts the quality. An incorrectly placed mic can lead to echo, distortion, and other audio issues.

Audio Test Recordings

An essential step you can’t afford to miss is the test recording. This step lets you monitor and evaluate the audio backup, ensuring that you are achieving the desired quality. It also alerts you to any unforeseen issues before you begin filming seriously.

Mastering the Tools of Audio Quality

Mastering the equipment used in audio recording is going to give you superior control over the quality of your sound.

Lav Mics

Lavalier microphones, or lav mics for short, are excellent tools for interviews, news broadcasting, and any setting involving dialogue. They are small, discreet, and can comfortably clip onto the speaker’s clothing, allowing for clear voice capture.

Boom Mics

A boom mic is an excellent option for situations where a lav mic is unsuitable or impractical, such as in the case of multiple speakers. It’s a highly directional mic that is capable of capturing sound from longer distances without losing quality.

Audio Recorders

An audio recorder is a separate device used for recording audio separately from video. This device connects directly to the microphone and allows for more control over audio settings and quality.

Headphones

A good pair of closed-back headphones is essential for monitoring audio on the set. These provide suitable isolation, thus offering detailed accuracy while recording or in post-production audio review.

Dial-in The Post Production

Recording audio is only half the battle, refining it in post-production is another significant aspect in achieving high-quality sound.

Noise Reduction

Most video editing software has noise reduction tools that can eliminate unwanted background noise picked up during filming. In post-production, this software can make all the difference.

Audio Level Adjustment

Maintaining consistent audio levels throughout your video is crucial. Software tools allow you to boost quiet sounds and decrease louder ones, ensuring a balanced and professional audio output.

Audio Mixing

Audio mixing involves adjusting and combining multiple sounds into one or more channels. This step fine-tunes the audio, greatly impacting the overall quality and viewer’s experience.

In Conclusion

As a videographer, paying attention to audio is just as paramount as your video content. High-quality audio plays a significant part in delivering a comprehensive viewing experience. Remember, both work hand in hand and provide the best output when given equal attention. By investing in quality equipment and adhering to best recording practices, you’re sure to achieve excellent audio to complement your video content.

Soundtrack of Success: Recording Quality Audio for Your Video Blogs

Creating compelling content for your video blog requires more than just visually appealing footage. Sound is an integral component of any video production, and low-quality audio can break your viewers’ immersion, distract from your content, and even deter potential subscribers. In this article, we’ll delve into the essentials of capturing high-quality sound for your video blogs.

The Importance of Stellar Sound

Sound establishes the atmosphere and mood of your video, aiding viewers to understand the context and immerse themselves in the content. Besides, clear and crisp audio makes your message more digestible and enjoyable. Whether you’re capturing the ambient symphony of a bustling marketplace or communicating directly to your camera, quality audio brings your vlogs to life.

Invest in a Dedicated Microphone

While built-in microphones in phones or cameras are suitable for casual use, they lack the capabilities to ensure optimal audio quality. For sharp, clean sound, invest in a dedicated microphone.

Lavaliere Microphones

Also known as lapel mics, lavaliere microphones are perfect for ‘talking head’ style videos where you’re speaking directly to your audience. They’re small, clip onto your clothing unobtrusively, and offer hands-free operation. Lavaliere mics efficiently single out your voice and minimize background noise.

Shotgun Microphones

If your vlogs include outdoor and travel scenes or require capturing broader audio environments, consider a shotgun microphone. These narrow-angle mics effectively pick up sound in front of them while suppressing the sides and rear.

USB Microphones

For vloggers who film primarily at their desk or indoor environment, USB microphones represent a cost-effective solution. They offer better sound quality than built-in mics and straightforward connection to your computer.

Master Your Microphone Technique

Choosing the right microphone is half the battle; knowing how to use it effectively is equally essential.

  • Mind the distance: Hold the microphone too close, and you’ll end up with distorted audio. Too far, and you sacrifice clarity. Discover the sweet spot of your particular microphone, whether through the rule of thumb or personal experimentation.

  • Avoid handling noises: If you’re holding the mic, avoid unnecessary handling noises by maintaining a firm, steady grip.

  • Speak clearly: Your diction and projection greatly influence your audio quality. Enunciate your words clearly, maintain a consistent volume, and avoid excessive vocal fillers.

Utilize an Audio Interface

If you’re using a microphone that doesn’t connect via USB, consider an audio interface. These devices allow you to plug your microphone into your computer and convert the audio signal into digital format. Look for an interface that offers phantom power if you’re using a condenser microphone.

Proper Post-Production and Editing

Just as you likely wouldn’t publish your video footage without some level of post-production, the same applies to your audio.

  • Eliminate background noise: Use software that allows you to isolate and remove unwanted background noise.

  • Normalize your audio: It’s vital to keep your audio levels consistent throughout your video. Use a normalization tool to balance your audio and prevent sudden volume spikes or drops.

  • Consider sound design: Incorporate background music and sound effects appropriately to enhance your content’s mood and tone.

In conclusion, recording quality audio for your video blogs isn’t just about the right equipment—it’s a process starting from thoughtful microphone positioning, promoting clean sound capture to comprehensive editing in post-production. With these tips, you’re on your way to create video blogs that sound as good as they look, enhancing viewer experience and increasing your content’s effectiveness. Remember, great sound makes your story come alive! It’s time to turn up the volume on your vlogs.

Leveraging Video Production for Small Businesses: A Comprehensive Guide

Video content is rapidly becoming the most effective way to communicate a message in today’s digitized world. From social media channels to websites, the application of video content is vast and extremely influential. For small business owners, understanding and leveraging video production can greatly enhance their competitive edge. This guide aims to demystify video production and highlight its role in transforming small enterprises.

Why Video Production?

Before delving into the details, it’s important to consider the question: why should small businesses focus on video production? The answer lies in trends and statistics. Over 54% of consumers want to see more video content from a brand or business they support. More so, video content is proven to improve SEO, significantly enhancing visibility online. Additionally, with the increasing number of video-friendly social platforms like Instagram and Facebook, embedding video content into your marketing strategy is an opportunity you can’t afford to miss.

Planning Your Video Production

A strong video production process begins with meticulous planning. Begin with identifying your objective. Are you creating a promotional video, an informational one or are you just trying to build engagement with your audience? This will help guide your content.

Next, identify your target audience. This is important as it will determine the tone, language and style of your video. Once the objective and audience are determined, continue to create a concise script, scout a location(optional), and outline a production schedule.

The Production Process

The production process incorporates the filming of your video. Small businesses often worry about the cost involved in this process, but it’s essential to know that high-quality video doesn’t necessarily require high-end equipment. In most cases, a decent smartphone, a few basics in lighting, and good audio capture equipment will suffice.

When filming, always ensure the narrative of your script comes alive through aesthetically pleasing visuals and compelling dialogue. Pay close attention to lighting and composition as these elements will significantly enhance the feel and look of your video.

Editing the Video

Video production does not end with filming the video. The post-production phase, which is essentially editing the video, is just as crucial. While it can be slightly complex, with several tutorials and video editing software available online, mastering the basics is feasible for anyone.

Your editing should align with the script, flowing naturally from one point to another. It’s also during editing video that you can add effects, captions or animations to make the video more interesting. Remember to add your company’s logo, a call to action, and your contact details towards the end of the video.

Distribution and Analysis

After your video is ready, it’s time to distribute. Publishing your video directly on social media platforms can significantly increase its reach. Additionally, enabling sharing options can further increase your audience. Also, don’t forget your website or blog as they offer a controlled space to engage with your audience.

Once your video is live, monitor it and analyse its metrics. Video views, viewer engagement and viewer retention rate are some vital metrics to check. This information will offer insight into what resonates with your audience and what doesn’t, assisting in shaping future video content.

Conclusion

Embracing video production can seem daunting for small business owners juggling multiple roles. However, with thorough planning, practical production, thoughtful editing, and strategic distribution, it becomes an attainable goal. The idea is not to create an overly polished video but rather to create quality content that connects with your audience, builds brand awareness and ultimately, drives growth. From promoting your products or services, to offering valuable insights, the opportunities in video content are endless. Begin your journey in video production and watch your small business thrive in the digital landscape.